How to Do a Fundoscopy (Ophthalmoscopy), Step by Step
By the DecodeMed Team7 min read
Get the RadioAnato AI app, free:App StoreGoogle PlayAbout RadioAnato AI
To do a fundoscopy, dim the room, ask the patient to look at a distant point, check the red reflex from about an arm’s length, then come in close at roughly 15° from the temporal side until a vessel is in focus, follow it to the optic disc, and examine the disc, the vessels in four quadrants and finally the macula. Use your right eye for the patient’s right eye and your left eye for their left.
Before you start
- Explain and get consent. You will come very close to the patient’s face.
- Dim the lights so the pupil dilates. Dilating drops give a much better view but are not used when pupil reactions must be monitored or when there is a risk of angle-closure glaucoma.
- Set the ophthalmoscope to 0 dioptres and a large round white light. If you or the patient wear glasses, either keep yours on or correct with the lens wheel.
- Ask the patient to fix on a distant point and keep looking there even if your head is in the way.
Step by step
- 1. Red reflex. From about an arm’s length, look through the ophthalmoscope at the pupil. A bright, symmetric orange-red reflex is normal; an absent or white reflex (leukocoria) suggests cataract, vitreous haemorrhage or, in a child, retinoblastoma.
- 2. Approach. Move in slowly at about 15° from the temporal side, keeping the reflex in view, until you are a few centimetres from the eye.
- 3. Find a vessel. Turn the lens wheel until a retinal vessel is sharp. Follow it as its branches converge; they point back to the optic disc.
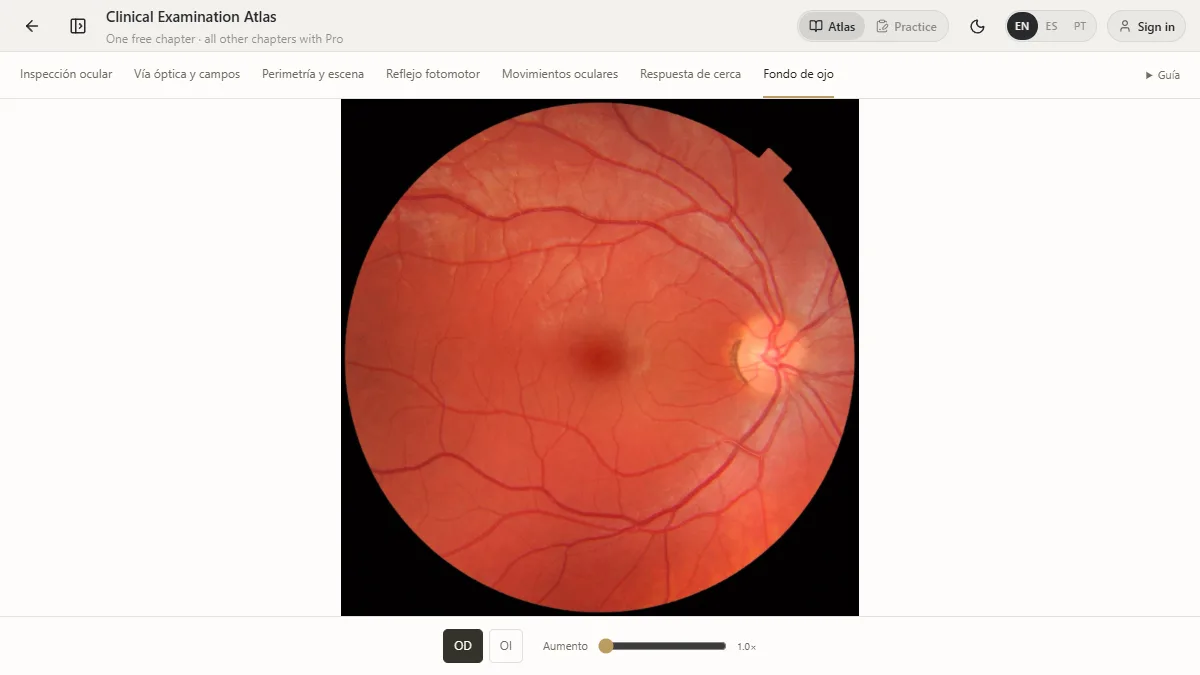
- 4. Optic disc. Note its colour (pale pink), margins (sharp), and the cup-to-disc ratio (normally below about 0.5 and similar in both eyes).
- 5. Vessels. Examine the four quadrants. Arteries are thinner and brighter than veins (about 2:3). Look for nicking where arteries cross veins, and for haemorrhages or exudates.
- 6. Macula. Last, because it is bright and uncomfortable: ask the patient to look straight at the light. The macula is darker, about two disc diameters temporal to the disc, with the foveal reflex at its centre.
Normal versus abnormal
| Finding | What you see | Think of |
|---|---|---|
| Papilloedema | Swollen disc, blurred margins, lost venous pulsation, haemorrhages around the disc | Raised intracranial pressure |
| Optic atrophy | Pale, white disc | Previous optic neuritis, compression, glaucoma |
| Glaucomatous cupping | Enlarged cup (cup-to-disc ratio above about 0.6 or asymmetric) | Glaucoma |
| Hypertensive retinopathy | Narrowed arteries, AV nicking, flame haemorrhages, cotton-wool spots | Chronic or severe hypertension |
| Diabetic retinopathy | Microaneurysms, dot-and-blot haemorrhages, hard exudates, new vessels | Diabetes |
| Central retinal artery occlusion | Pale retina with a cherry-red spot at the macula | Embolism, giant cell arteritis |
| Central retinal vein occlusion | Widespread haemorrhages, “stormy sunset” fundus | Hypertension, hyperviscosity |
Common mistakes
- Standing too far away. The view widens as you get closer; most beginners stop too early.
- Using the wrong eye. Right eye for right eye, left for left, otherwise your noses collide and you lose the angle.
- Hunting for the disc. Follow a vessel instead; the branches point to the disc.
- Looking at the macula first, which makes the pupil constrict and the rest of the exam harder.
Practise it before the ward
The eye chapter of the Clinical Examination Atlas is free. Its fundoscopy step shows a real fundus of each eye that you can magnify, and the same chapter covers pupil reactions, eye movements and visual fields on simulated eyes.
Study it in RadioAnato AI
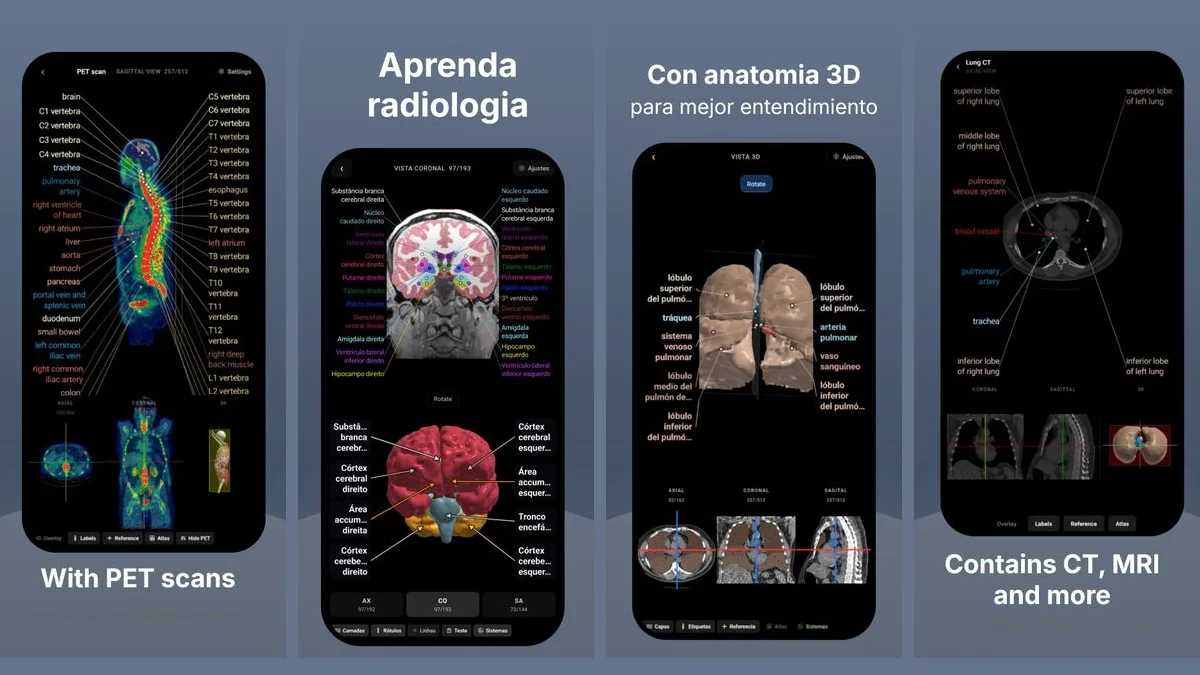
RadioAnato AI, the DecodeMed app, puts 3D anatomy, CT and MRI studies, histology slides and an AI tutor that answers on them in your pocket. Free to download for iPhone, iPad and Android.
See also the best physical exam simulators.
Frequently asked questions
How do you find the optic disc on fundoscopy?
Focus on any retinal vessel and follow it in the direction its branches converge; they lead back to the disc, which lies on the nasal side of the fundus.
What is a normal cup-to-disc ratio?
Usually below about 0.5 and similar in both eyes. A larger or asymmetric cup suggests glaucoma and needs specialist assessment.
Which eye do you use to examine the patient’s right eye?
Your right eye, holding the ophthalmoscope in your right hand. Use your left eye and left hand for the patient’s left eye.
What does papilloedema look like?
A swollen optic disc with blurred margins, loss of spontaneous venous pulsation and often haemorrhages around the disc, usually in both eyes.
Get RadioAnato AI, the DecodeMed app
Anatomy, radiology and histology in one app, on the App Store and Google Play.
About RadioAnato AIContinue reading
The Best Physical Examination Simulators and Apps for Medical Students (2026)
Physical examination · 7 min read
Cardiac Auscultation Points and Murmurs: Where to Listen and What You Hear
Physical examination · 8 min read
The Best Complete Anatomy Alternatives for Medical Students (2026)
Anatomy · 7 min read